5.14.2010

Cheesecake-Marbled Brownies

 (Sorry for the awkward angle of the pic. I blame them still being in the pan.)

They sound yummy, right? They look yummy too. Naturally, I wouldn't know if they actually ARE yummy, because they're for a bake sale. Grr. I'm totally all for helping the PTA, but it's just evil to bake something and not be able to taste it. At least I got to eat the delicious batter as compensation, though...

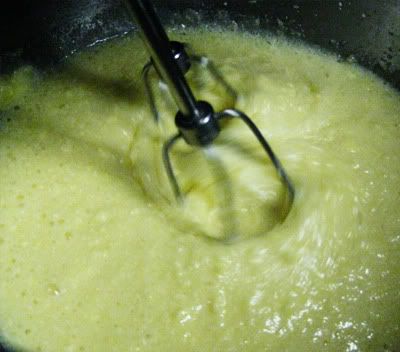
Anyway, it's a very easy recipe. There are two parts to it, of course, but you don't even need to use a mixer! A plain ol' metal spoon is fine.


Cheesecake-Marbled Brownies
recipe from Smitten Kitchen
Brownie Batter
1 stick butter, cut into pieces
2 ounces unsweetened chocolate, chopped
1 1/4 cup sugar (original recipe only called for 1 cup, but I felt it wasn't sweet enough. I say you should first put in 1 cup, then if you need more, add the 1/4.)
2 eggs
1 tsp vanilla
2/3 cup All-Purpose flour
Cheesecake Batter
8 ounces cream cheese, softened
1/3 cup sugar
1 egg yolk
1/2 tsp vanilla
a handful of milk chocolate chips

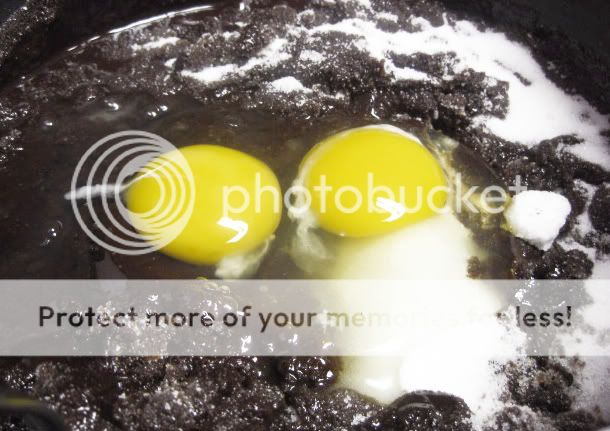
Preheat oven to 350F. Butter baking pan. Heat butter and chocolate in a 3-quart saucepan over low heat, whisking occasionally (don't let it boil! If it starts to, remove from heat and mix it that way) until just melted. Remove from heat and whisk in sugar, eggs, and vanilla. Whisk in flour.


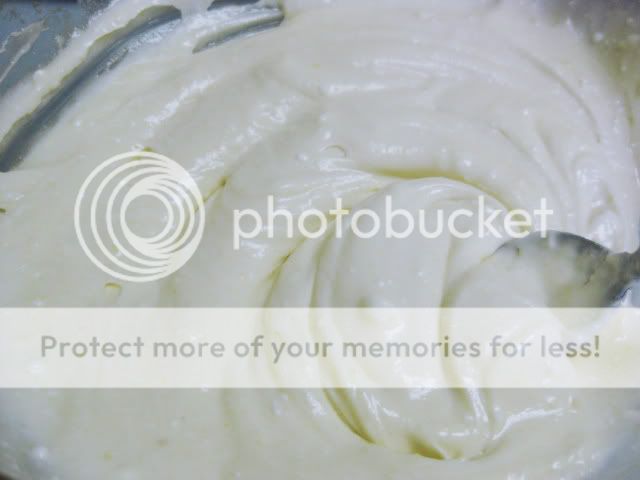
In another bowl, whisk together cheesecake ingredients until smooth. Dollop over brownie batter and use a knife or spatula to swirl batter. Bake about 30-35 minutes.


 This was my first time using milk chocolate chips. I am officially addicted.

Btw, school is almost over for me so I'll be able to bake/post even more! Yay! :D I have tons of recipes/pics just stored on my hard-drive, and they're waiting to be posted!

2.10.2010

First Post - with Hamentashen!

Hi, and welcome to my baking blog! Hopefully this won't be too full of failures, but we'll just see about that. ;)

The Jewish holiday Purim is right around the corner, and my family always goes all out with baking yummy treats for the mishloach manot - packages of food you send to your friends and family. It's like Halloween, only not pagan. =P

Anyway, hamentashen are basically a necessity for the mishloach manot. They have a significance to the story of Purim, and they're yummy, too! Yay for yummy things!

This recipe is from my (and my siblings') preschool teacher, and we've been using it since before I was born. It's pretty simple, even for a neobaker!

My mom and I made chocolate, prune, and apricot fillings.

Hamentashen Dough
1/2 cup margarine
1 cup sugar
3 eggs
1/2 cup orange juice
1/2 cup [vegetable] oil
2 tsp. vanilla
2 tsp. baking powder
5 1/8 cups flour
2 eggs, beaten - for the glaze

 
This was after the vanilla was added.


Chocolate Filling (this is actually my own recipe, majorly adapted from one I found in an old cookbook)
4 oz. cream cheese (I used non-dairy)
3 tsp. cocoa powder
Half an egg (I used egg substitute, so it was 1/8 cup of that)
1/4 cup sugar
1/3 cup chocolate chips, melted


Apricot Filling
12 oz. apricot butter
1/4 cup sugar
1/8-1/4 cup chopped walnuts

*I don't have a real recipe for the prune filling, sorry! My mom just adds prunes and raisins together and that's all I know.*


Beat the margarine and sugar together until light and fluffy. Mix in the eggs, then the orange juice, then the oil, and finally the vanilla. Add in the baking powder and flour slowly, cup by cup until a nice dough has formed. If it's not ready to be rolled out yet (mine wasn't), refrigerate for about an hour. While the dough is being solidified, make the fillings.

Mix together the ingredients for the fillings separately and set them aside.

Roll out the dough on a lightly floured surface. Cut out 2-3 inch circles from the dough with the rims of cups (or anything else that will cut it neatly). Spoon enough filling onto each circle - about 1 tsp. Fold up 3 sides to form a triangle, making sure that filling shows through in the middle.

Place on a tray covered with aluminum foil, brush with the glaze, and bake for 15-20 minutes at 350 degrees, or until golden brown, but before the filling boils over. Cool and enjoy!

 
Before baking...


After baking!

Tomorrow I have another snow day, so I believe I'll be making chocolate chip cookies or something else of that sort.